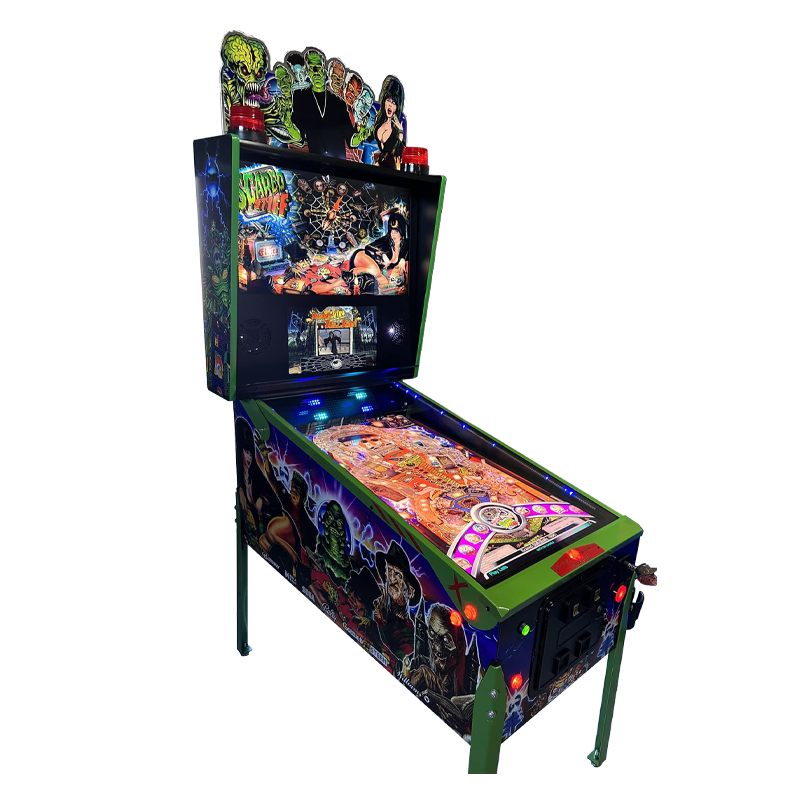
For enthusiasts who harbor a love for both retro gaming nostalgia and modern technology, a DIY virtual pinball machine project presents an exciting opportunity to blend the best of both worlds. This comprehensive guide will walk you through the process of creating your very own virtual pinball machine from scratch, allowing you to unleash your creativity and passion for gaming.
1. Planning and Research:
Before diving into construction, it’s essential to do thorough planning and research. Decide on the size, style, and features you want for your virtual pinball machine. Explore online resources, forums, and tutorials to gather inspiration, learn from others’ experiences, and familiarize yourself with the necessary components and tools.
2. Gathering Materials and Components:
Once you have a clear plan in place, gather all the materials and components you’ll need for your project. This typically includes a computer or Raspberry Pi for running the pinball emulation software, a large monitor or TV for the playfield display, buttons, switches, and a plunger for controls, as well as wood, hardware, and wiring for the cabinet construction.
3. Building the Cabinet:
The cabinet is the foundation of your virtual pinball machine, so take your time to build it carefully. Follow detailed plans or templates to cut and assemble the wooden panels, ensuring precise measurements and sturdy construction. Pay attention to details such as button and joystick placement, as well as ventilation for the computer components.
4. Installing Hardware and Electronics:
Once the cabinet is constructed, it’s time to install the hardware and electronics. Mount the monitor or TV as the playfield display, wire up the buttons, switches, and plunger for controls, and install speakers for audio output. Depending on your design, you may also need to incorporate features such as LED lighting, tilt sensors, and feedback devices for a more immersive experience.
5. Setting Up Software and Emulation:
Select and install the pinball emulation software you’ll be using to run your virtual pinball machine. Popular options include Visual Pinball, Future Pinball, and Pinball FX3. Configure the software settings, upload your desired pinball tables, and test the gameplay to ensure everything is functioning correctly.
6. Customization and Personalization:
With the hardware and software in place, it’s time to add personal touches to your virtual pinball machine. Customize the cabinet with artwork, decals, or paint to give it a unique aesthetic appeal. Experiment with different themes, lighting effects, and sound enhancements to create a gaming experience that’s truly your own.
7. Testing and Troubleshooting:
Before declaring your virtual pinball machine complete, thoroughly test all components and gameplay features to identify any issues or glitches. Troubleshoot any problems that arise, making adjustments and refinements as needed to ensure optimal performance and functionality.
8. Enjoying the Fruits of Your Labor:
Once your DIY virtual pinball machine is up and running smoothly, it’s time to sit back, relax, and enjoy the fruits of your labor. Invite friends and family to experience your creation, host gaming nights, and revel in the satisfaction of bringing your arcade dream to life.
Building a DIY virtual pinball machine is a challenging yet rewarding endeavor that allows you to combine craftsmanship with technology and creativity. With careful planning, attention to detail, and a passion for gaming, you can create a one-of-a-kind gaming experience that’s sure to impress and entertain for years to come. So roll up your sleeves, gather your tools, and embark on the journey of crafting your very own virtual pinball masterpiece.
